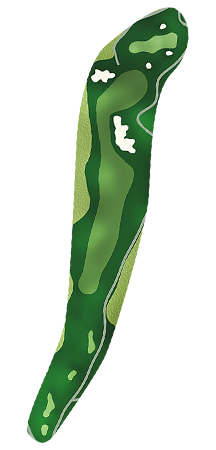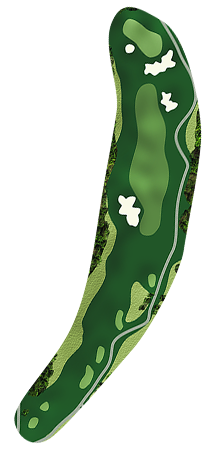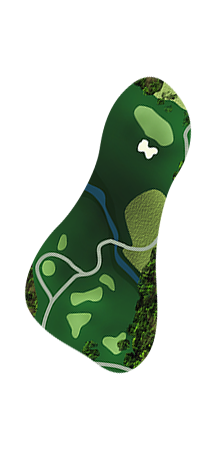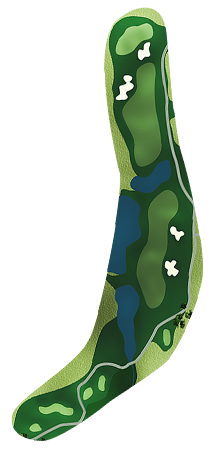
Come out swinging on this opening, uphill par 5. The fairway winds around two large bunkers that can make for trouble on your second shot. Two deep pot bunkers will gobble up any shots short of this narrow green.

The second hole is a dogleg left around a large fairway bunker. The green is slightly elevated and protected in front by bunkers, so be sure to take extra club with your approach to avoid trouble.

Try to carry the left fairway bunker with your tee shot for the best angle into the green on the 3rd. The green is guarded by a bunker left and hills to the right so a smart play is to the center of the green.

Play your tee shot towards the bunker to the right of the fairway for the best approach angle. The green is protected by a cavernous bunker, so accuracy is a must with both swings on the fourth hole.

Your tee shot must come in high and soft on this par 3. The green is elevated on all sides and a deep bunker sits in the front, making for a difficult approach. However, if the green is hit in regulation you should have a fairly easy putt for birdie.

A fairway bunker pinches in the left side of the fairway on this par 4. The green on the sixth hole has many undulations, so try to knock it close with your approach to avoid a possible three-putt.

The tee shot on this par 5 is downhill and the hole plays shorter than the yardage. You need to avoid two ponds left of the fairway and then hit over another with your second shot. The green sits elevated above the fairway with a bunker guarding short and right.

The tee shot is all carry over water on the par 3 eighth. The green is 43 yards deep, so adjust your club selection based on where the pin is located. Avoid the deep bunkers located on both sides of the green.

Play to the widest part of the fairway on this dogleg left. The green juts out into the lake and the pin usually sits just off the water's edge, so there is no place to miss with your approach. The ninth is the course's most difficult par 4 and is also one of the best finishing holes on the Trail.