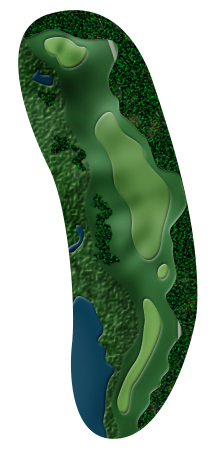
The par-4 first hole is a difficult start to a challenging course. Get your tee shot in the fairway because the approach shot is significantly uphill, so take extra club. Approach shots short of the center of the green will roll back to the front.
Hole No. 2 is a strong par-5 with a multiple level fairway, making for an interesting tee shot. Second shots need to avoid the fairway bunkers and lake right. Once on the green, taking only two putts will be quite a feat.
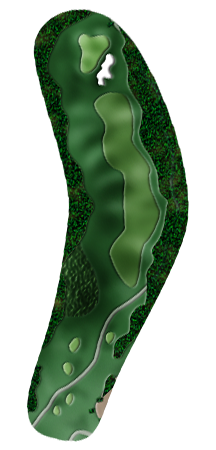
The heart-shaped green on the par-3 third hole does not show much love. Tee shots need to land in the middle half of the green to avoid going over. Par is a good score.
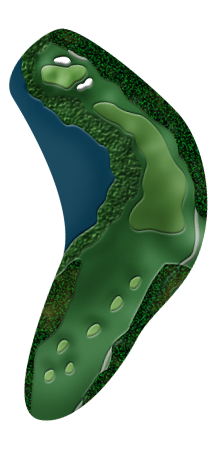
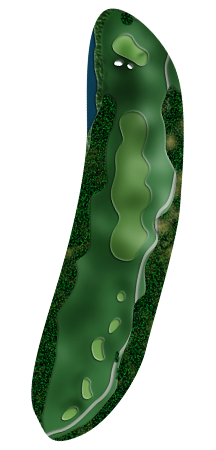
Do not try to carry the corner of Lake Saugahatchee on the par-4 fourth hole. Tee shots in the vicinity of the 150-yard post are ideal. A precise approach shot is critical; you must avoid the bunker in front and another beyond the green. Putting can be trick on this subtle green.
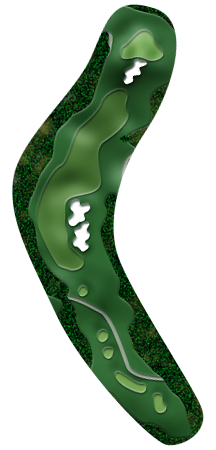
Long hitters can carry the fairway bunkers on the right on the par-4 fifth hole. The elevated green sits high above the landing area, so take at least a full club more on the blind approach shot.
Hole No. 6 is a three-shot par-5 and you do not need driver off the tee; it is more important to avoid the fairway bunker. Lay up between 100 and 150 yards out. Approach shots need to avoid the marsh short and right of the undulating green.
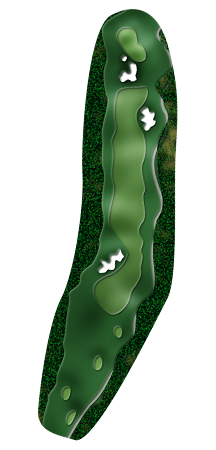
The par-4 seventh hole is one of the most difficult hole on the Links course. The large, multi-tiered green features some serious elevation changes, so you must leave your ball on the same section of the putting surface as the hole.

Distance off the tee is not necessary on the par-4 eighth hole. Do not miss this pedestal green on your approach shot. Short of left, Lake Saugahatchee will swallow your ball. Going long or right makes for a difficult up-and-down.
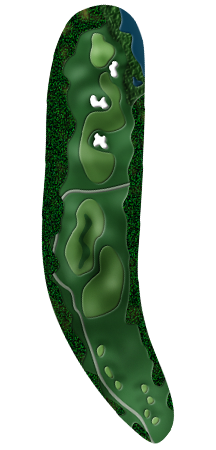
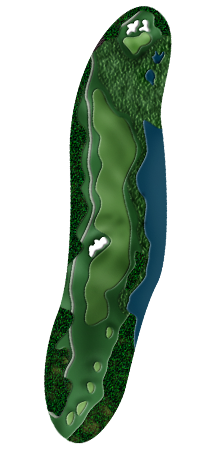
The only safe place to miss the peninsula green on the par-3 ninth hole is short. The putting surface is over 50 yards deep, offering many club options depending on the pin location.
Hole No. 10 is a short par-4 that requires the right touch on your approach shot. The elevated green slopes from front right to back left. Successfully putting this green requires a good read of the subtle undulations.
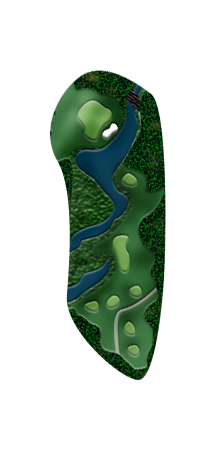
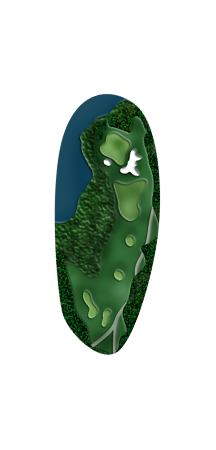
The par-3 eleventh hole is all carry over wetlands to a pedestal green. There is not much margin for error. Take plenty of club, and should you find the green, putting will be a relief.
On the solid par-5 twelfth hole, the fairway narrows as you near the green. If you go for it in two, be aware there is no room for a mistake. Two prominent ridges on the green move shots forward or back right.
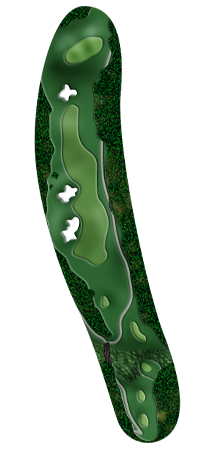
The divided fairway on the par-4 thirteenth hole provides some options off the tee. Gamblers play left, all others right. Approach shots must carry the wetland to find a rolling green that features many difficult putts.
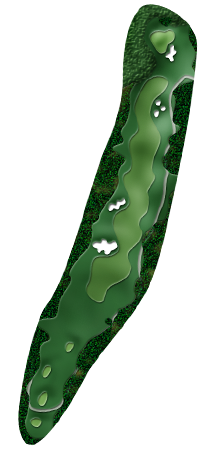
Tee it high and let it fly on the par-4 fourteenth hole. Use the right, elevated side of the fairway to bring stray shots back to the center. Going left of the fairway leaves no shot. Approach shots need to avoid the two pot bunkers in front of the green. The mostly flat putting surface is a welcome change.
The par-5 fifteenth hole is a nice risk/reward hole. Long hitters can carry the fairway bunker left. Take extra club on the approach shot to this elevated green. Two deep bunkers guard the front of the green.
Do not let the short par-3 sixteenth hole creep up and get you. At all costs, avoid the deep pot bunker fronting the green. Putting can be surprisingly difficult as there is a lot of subtle movement.

The tee shot on the par-4 seventeenth hole is downhill, so your ball will travel. Stay left of the fairway bunker. Approach shots should be hit to or past the flagstick; anything short will not work here.
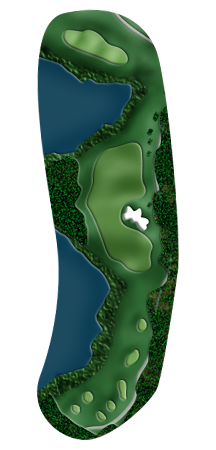
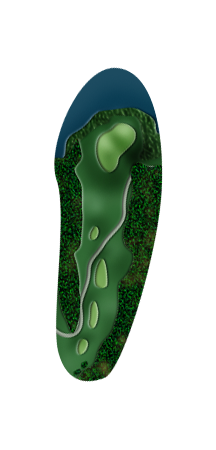
Tee shots on the par-4 eighteenth hole must carry a marsh and avoid the large, menacing bunker. Second shots have a forced carry over water fronting a pedestal green. Find the correct section of this green or you may face a putt of up to 120 feet.