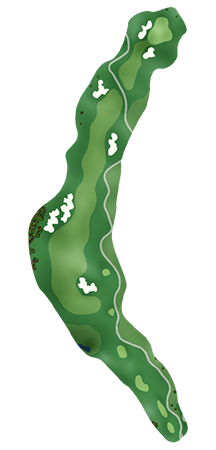
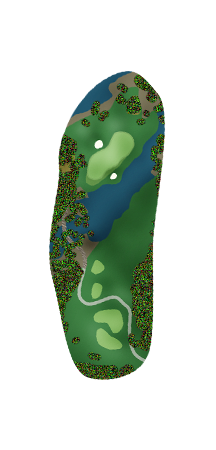
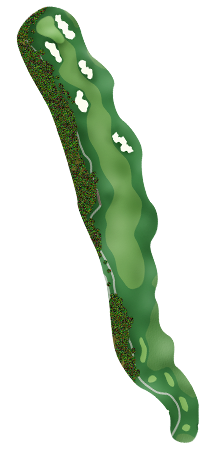
The Legislator begins with a long par-5. A bunker squeezes in the right side of the fairway and must be avoided off the tee. Long hitters can cut the corner for a chance to reach the green in two, but most will lay up. Bunkers guard the front of the green.
Bunkers protect the right side of the hole, but a drive finding the fairway on Hole No. 2 should receive some extra roll from a downhill slope. The green sits elevated above the fairway and drops away to a hill to the right and bunkers on the left.
Hole No. 3 is a downhill par-3 that offers a beautiful view to the left. The tees are blocked by trees from the wind, but the green is exposed so pay careful attention to club selection to avoid two pot bunkers short and one long. The green falls away on both sides.
Hole No. 4 is a delight for big hitters. The landing area off the tee slopes downhill toward the green on this par-4. The green is long and narrow and one of the more undulating on the Legislator course and is protected by two bunkers and a small stream. The back pin position is the most difficult to come close with your approach.

Do not miss left on any of your shots on the par-5 fifth hole. The rough drops down into thick grass and will make the hole feel much longer than its yardage. If you lay up, stay short or left of the fairway bunker for a full wedge shot to the green.

One of the few holes on the Trail without any sand, the par-3 sixth hole has a large green with three distinct tiers so find the appropriate section to avoid a long birdie putt. The ground drops away steeply in front and left of the green.
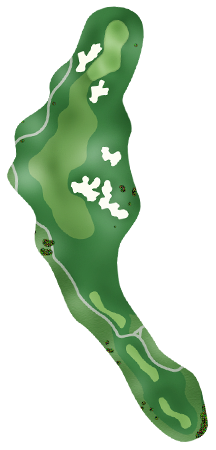
Try to cut the corner on the dogleg right par-4 seventh hole and carry the fairway bunkers to leave a short approach. Bunkers guard the entrance to the green. Depending on the pin location, there is nearly a four-club difference from the front to the back on this deep, but narrow, green.
Hole No. 8 is a long, straight par-4. The left side of the fairway slopes to the right, so a tee shot can be played down this side to avoid a fairway bunker. Two deep pot bunkers front the green and you need to hit your approach close to avoid a very difficult two-putt.
The ninth hole is dogleg right par-4 and skirts the edge of a bluff. Bunkers line the entire left side of the fairway, but a good drive will leave a straightforward approach to the green. The green drops away in front and left, so be accurate with your approach.
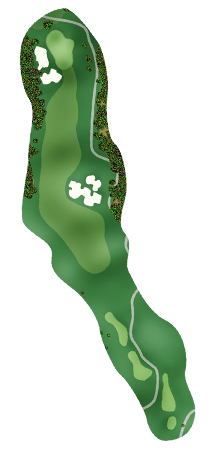
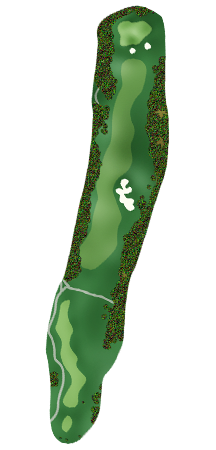
Leave driver in the bag on the short par-4 tenth hole. The hole turns to the right and drops sharply downhill past the 100 yard marker. Any approach missing long or right of the green will leave a difficult chip to save par.
The par-3 eleventh hole demands a shot that must cross part of a native cypress swamp to a narrow green that angles away from the elevated tee. Two pot bunkers guard the front and back of the green. Take your time as you cross the swamp and enjoy the scenery. The bridge has been designed in a way that allows the cypress trees to grow through without harm.
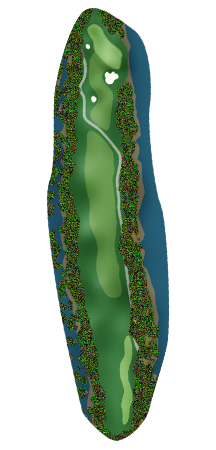
Driver is only for the most daring on this narrow par-4. Water runs the entire length of both sides of the fairway, so hit a long iron or fairway wood off the tee to find the fairway and still have a short approach to the green. The green is angled away from the fairway and is protected by two bunkers.
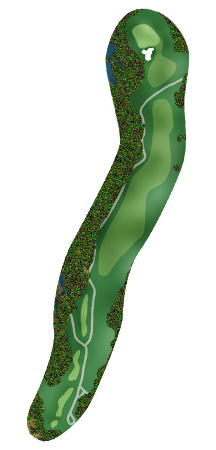
Play your tee shot down the right side of the fairway on the par-5 thirteenth hole. A good drive will leave a chance to go for the green in two, but it is all carry because of the bunker sitting short of the green. The green slopes away from the fairway, making it difficult to hit your approach close to the flag.

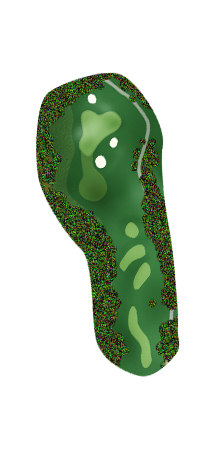
Hole No. 14 sits at the bottom of the bluff and you can use the slope on the left side of the fairway to help turn your tee shot on this dogleg right par-4. The green drops away steeply on all sides, and an approach shot finding one of the greenside bunkers will make for a very difficult up-and-down.

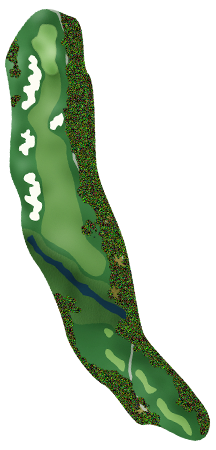
The tee on the par-4 fifteenth hole sits well above the fairway and offers a good chance to tee it high and let it fly. The approach to the elevated green requires at least one extra club and you need to stay below the hole to avoid a difficult downhill putt for birdie.
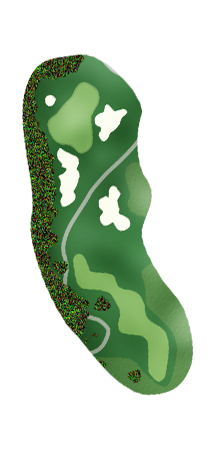
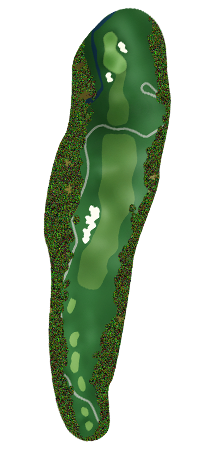
The final three holes on the Legislator are played back on top of the bluff and they begin with the par-3 sixteenth hole. The hole is relatively short, but is guarded on all sides by bunkers. The green is large and offers a good chance for a birdie.
You can see the green from the tee on the par-5 seventeenth, but it will take three good shots to get there. The fairway gets narrower the closer you get to the green and is lined by bunkers on both sides. The hole runs along the edge of the bluff so do not miss left.
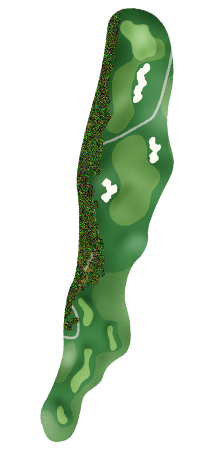
Hole No. 18 is short par-4 with a generous landing area off the tee. You will have a good chance for a closing birdie if the pin is located on the right side of the green, but if it is on the left, play for the center of the green and finish with a par. The rough in front of the left side of the green drops down into a deep swell.